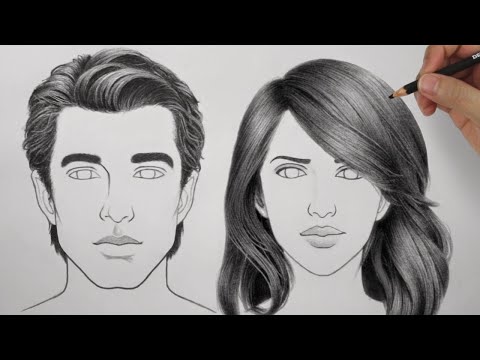
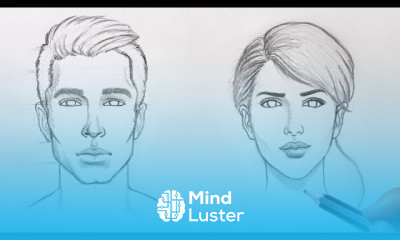
How to Draw Hair Male Female Ultimate Tutorial
Share your inquiries now with community members
Click Here
Sign up Now
Lessons List | 38
Lesson
Comments
Our New Certified Courses Will Reach You in Our Telegram Channel
Join Our Telegram Channels to Get Best Free Courses
Join Now
We Appreciate Your Feedback
3 Reviews

Akhil surya

Thomas
Papori bailung
Show More Reviews
Related Courses in Drawing


Course Description
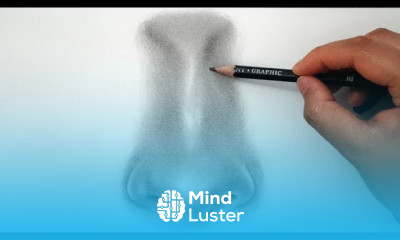
Draw a big circle in the center of your paper. This will be the guide for the rest of your nose, so the size of this will determine the size of your final nose. For now, draw it as big as you feel comfortable -- you can learn to draw new sizes later on.
2
Add two vertical lines on the top of the circle. They should start just inside the edges so that the drawing looks a bit like an upside-down microphone.
3
Draw two curved lines on either side of the circle to form the beginning of the nostrils. The first line extends from the lower third of the circle, curving downward. This forms the top edge of your nostril. The second line is a curvy L-shape, wrapping slightly around the nostril. This line forms the outside edge of the nostril.
Repeat the drawing on the opposite side.
4
Lightly fill in some shading and guidelines around the outside of the nose. Connect the bottom of the nostrils lightly to the bottom tip of the circle. Draw a line through the bottom third of the circle, connecting the two nostrils (you'll be shading this in later).
5
Create shading guidelines in the center of your circle. Draw two vertical lines from the top of the circle (where it meets the bridge of the nose lines) and connect them to the horizontal line 2/3rds of the way down. When you hit this horizontal line, turn the lines diagonally inward, so that they "follow" the curve of the circle back down.
These are only guidelines, so don't worry about shaping the nose perfectly yet. You'll do this through shading.
6
Shade all along your guidelines. The lines you drew are there to provide the blueprint for your shading. Simply start with light shading all along the lines, using thicker shading for bigger noses. Once the light shading is done, use a harder pencil and start shading even darker, sticking closer to your shade lines than before. This is your chance to shape the nose, so break from the guidelines where needed to get the design you want. From here, you can either:
Find and keep filling in the dark spots -- such as inside the nostril.
Add a little white to the highlights, like the tip of the nose or the bridge.
Use a picture to help your shade if you're just starting. That said, your guidelines should give more than enough help.
7
Use shading to determine the type and shape of your nose. Lightly rounded edges and softer shading generally leads to a more feminine nose, where hard edges and sharp lines lend the drawing a more masculine flavor. Keep practicing to learn how to form the noses just how you like.
Trends
French
Graphic design tools for beginners
Artificial intelligence essentials
Formation efficace à l écoute de l
Essential english phrasal verbs
MS Excel
Build a profitable trading
Data Analytics Visualization Techniques
Electrical engineering for engineer
Python programming language
YouTube channel setup
Printing student ID cards with excel tools
Excel skills for math and science
Computer science careers
Build a tic tac Toe app in Xcode
Magento Formation Français
Learning English Speaking
English vocabulary with picture
Figma for UX UI design
Marketing basics for beginners
Recent
Growing ginger at home
Gardening basics
Ancient watering techniques
Grow mushrooms
Growing onions
Veggie growing
Bean growing at home
Growing radishes
Tomato growing at home
Shallot growing
Growing kale in plastic bottles
Recycling plastic barrel
Recycling plastic bottles
Grow portulaca grandiflora flower
Growing vegetables
Growing lemon tree
Eggplant eggplants at home
zucchini farming
watermelon farming in pallets
pineapple farming